Seasoning Basics: Properly Season Your Cast Iron for a Non-Stick Cookware Set
Flavouring cast iron might sound like some ancient cooking ritual, but it’s actually pretty simple and super rewarding. Seasoning helps create a natural, non-stick surface and protects your skillet from rust. All you need is a bit of oil, heat, and patience to get your cast iron looking and cooking its best. Let’s break down the basics to get that skillet seasoned perfectly!
Why Seasoning Is Important for Cast Iron Cookware Sets
Seasoning is more than just a protective coating; it’s what gives cast iron its magical, non-stick abilities. When you season your skillet, you’re essentially building a layer of oil that bonds with the iron at a molecular level, creating a smooth, durable finish. This layer helps keep food from sticking and also prevents rust, which is the enemy of cast iron. A well-seasoned skillet gets better over time, and with each use, it develops an even smoother surface.
Step-by-Step Guide to Seasoning Your Cast Iron Cookware Set
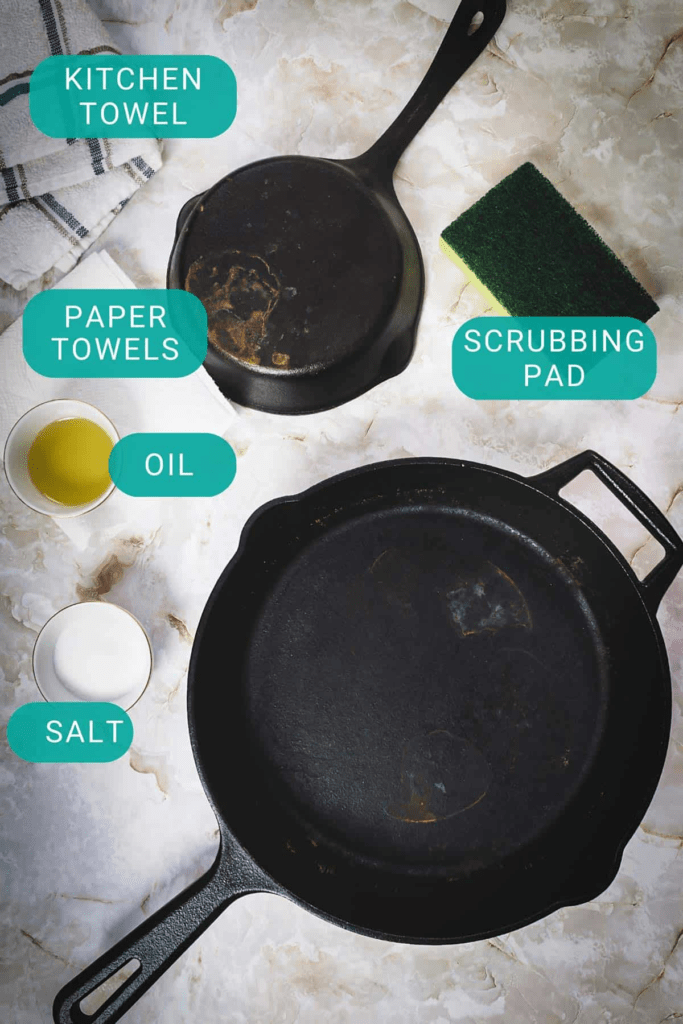
Start with a clean, dry skillet, as any moisture can prevent proper seasoning. The first step is to heat your skillet slightly, either in an oven set to low or on the stovetop. This helps open the pores of the metal and makes it more receptive to the oil. Once warm, apply a small amount of oil – about a teaspoon – and use a paper towel to spread it evenly across the entire surface, including the handle.
The best oils for seasoning are those with a high smoke point, like vegetable oil, flaxseed oil, or grapeseed oil. Once you’ve applied the oil, take a clean paper towel and wipe away any excess. You want a very thin layer of oil – too much can lead to a sticky or uneven finish.
Bake for the Perfect Seasoning on Your Cast Iron Kitchenware
Now, here’s the part where patience comes in! Place your oiled skillet upside-down in the oven at 400-450°F. Bake it for about an hour, then turn off the oven and let the skillet cool inside. This high heat bonds the oil to the iron, creating a solid layer of seasoning. For the best results, repeat this oiling and baking process a few times, especially if your skillet is new or has been completely stripped of its seasoning.
Maintaining Your Cast Iron Seasoning Over Time with Kitchen Accessories
Once your cast iron is properly seasoned, keeping it in good shape is easy. Avoid harsh soaps, and never soak it in water – water can strip the seasoning and cause rust. After each use, rinse with hot water and scrub gently if needed. Dry it thoroughly and apply a light layer of oil before storing. This little extra care keeps your cast iron happy, glossy, and cooking like a dream! Host some guests over and sizzle steaks with our rectangle sizzler plate from our collection.
Cleaning Without Damage: Safe Ways to Clean Cast Iron Cookware Without Scrubbing Off the Seasoning
When it comes to cleaning cast iron, keeping that hard-earned seasoning intact is priority number one. Thankfully, cast iron maintenance is easier than you might think! With just a few simple steps, you can keep your skillet spotless without stripping its protective layer. Let’s dive into some foolproof, gentle cleaning methods to keep your cast iron in top shape.
Start with Hot Water and a Soft Brush for Cleaning Cast Iron Kitchenware
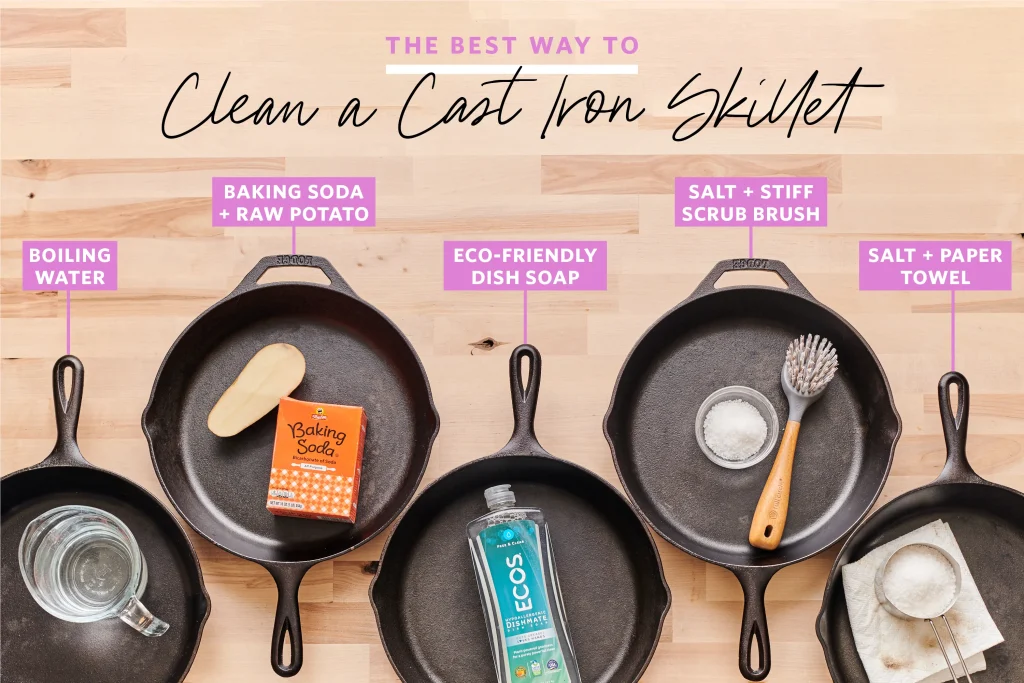
Most of the time, hot water and a soft brush are all you need to clean your cast iron. After cooking, let the skillet cool down a bit, then rinse it under hot water. A quick scrub with a soft-bristled brush or a non-abrasive sponge should do the trick. The goal here is to remove leftover food bits without disturbing the seasoning layer. It’s quick, easy, and gentle—perfect for cast iron care!

Salt Scrub for Stubborn Residue on Your Cast Iron Cookware Set
Got some stubborn bits that won’t budge with water alone? Try the salt scrub method! Sprinkle a generous amount of coarse salt (like kosher salt) onto the pan. Use a paper towel or a soft cloth to scrub the salt around the skillet. The salt works like a mild abrasive, lifting away tough residue without harming the seasoning. When you’re done, just rinse the skillet with warm water and marvel at how spotless it looks.
Dry and Oil Your Cast Iron for a Perfect Non-Stick Finish
Once your cast iron is clean, dry it thoroughly with a towel. Any lingering moisture can lead to rust, which no one wants! After drying, heat the skillet on the stovetop for a minute or two to evaporate any leftover moisture. Finally, apply a thin layer of oil (vegetable oil or flaxseed oil works great) and use a paper towel to spread it evenly. This finishing touch adds a layer of protection to your seasoning, keeping it strong and shiny.
Storing Cast Iron Cookware Correctly: Tips to Prevent Rust
Cast iron is sturdy and long-lasting, but it does need a little love when it comes to storage. Whether you’re stacking up a collection or keeping just one prized skillet, proper storage keeps rust at bay and protects your seasoning. Here’s how to store your cast iron so it’s ready for cooking anytime.
Always Dry Thoroughly Before Storing Your Cast Iron Cookware
First things first: moisture is cast iron’s worst enemy. After washing, make sure your skillet is completely dry. Use a towel to wipe it down, then give it a quick heat on the stovetop for any lingering moisture. This step is key to preventing rust, especially if you’re in a humid climate. Just a few minutes of drying time, and you’re one step closer to cast iron that lasts a lifetime.
Add a Thin Layer of Oil to Maintain Your Cast Iron’s Non-Stick Finish
After drying, apply a very thin layer of oil to your cast iron before putting it away. Use a paper towel to spread the oil evenly across the surface—just enough to give it a light sheen. This oil layer acts like a protective barrier against rust, especially if you won’t be using the skillet for a while. This simple trick ensures your cast iron stays well-seasoned and rust-free.
Choose a Dry, Open Storage Space for Your Cookware and Kitchen Utensils
When it’s time to store, make sure your cast iron is kept in a dry, ventilated spot. If you have multiple pieces, avoid stacking them directly to prevent scratches and damage. If space is tight, a piece of paper towel between stacked pans can protect the seasoning and keep moisture out. Hanging your skillet is also a great option if you want easy access and airflow around it.
Restoring Old Cast Iron: A Guide to Revitalize Vintage Cookware Sets
Got an old cast iron skillet that’s seen better days? Don’t worry—restoring cast iron is totally doable and incredibly satisfying. With a bit of time and a few easy steps, you can revive a rusty, neglected piece into a beautiful, functional skillet. Let’s dive into the process of bringing that vintage cast iron back to life and then make some yummy sandwiches with our sandwich maker!
Removing Rust: The First Step to Restoring Cast Iron Kitchenware
If your cast iron is covered in rust, start by scrubbing it away. Use steel wool or a scrub brush and some warm water to remove as much rust as possible. Don’t worry about being gentle here—you’re not scrubbing off seasoning at this stage, just rust. Once the pan looks free of rust and has a smooth surface, rinse and dry it thoroughly to prepare it for the next step.
Stripping the Old Seasoning for a Fresh Nonstick Cookware Set Look
After tackling the rust, it’s time to strip any old seasoning that might be patchy or uneven. An easy method is to place the skillet in the oven set to the self-cleaning cycle or use an oven cleaner. This process removes the old seasoning, leaving you with a blank slate. Once it’s done, rinse and dry your skillet thoroughly to get it ready for re-seasoning. Now, you have a clean, bare cast iron pan waiting for a fresh start!
Re-Seasoning Cast Iron for a Durable Non-Stick Finish
Now that your skillet is prepped, it’s time to season it! Start by applying a thin layer of high smoke-point oil, like vegetable or flaxseed oil, across the entire surface. Wipe off any excess until only a light sheen remains. Place the skillet upside down in an oven heated to 400°F and bake for an hour. Repeat this process two to three times for a rich, durable layer of seasoning. Each bake adds strength and smoothness to your skillet’s non-stick surface.
Keep It Going: Maintenance Tips for Vintage Cast Iron Cookware
Once you’ve restored your skillet, regular maintenance will keep it looking fantastic. Avoid soaking it in water, clean it gently, and always apply a touch of oil after each use. With a little care, your vintage cast iron will be as good as new, ready to last another lifetime. Enjoy cooking with your freshly revived piece of history!
Conclusion
Caring for cast iron cookware is essential to maintain its durability and non-stick finish, ensuring it remains a valuable part of your kitchenware collection. With proper seasoning, safe cleaning methods, and the right storage techniques, you can extend the life of your cast iron while enhancing its performance. From vintage pieces to modern cookware sets, maintaining cast iron is simple with a little effort and the right kitchen accessories. Whether restoring old cookware or preserving your current collection, these tips will help you enjoy the benefits of cast iron for years. Embrace the charm and utility of this timeless cookware!

